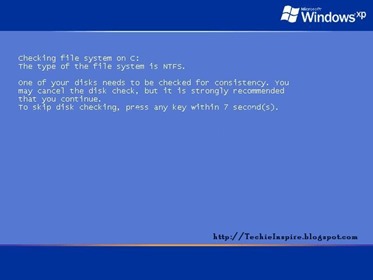
You might have often seen a Scandisk screen in Windows XP machines, which usually appears when Windows is not properly shut down or restarted. Scandisk checks your hard disk drive for errors and fixes the possible error.
You may get annoyed because disk checking comes up whenever you boot up. However, you can skip disk checking by pressing any key.
On the other hand, suppose you want to proceed with disk checking, but it takes up to 10 seconds to start.
Nevertheless, the below trick will show you how to decrease or increase the timing for Scandisk in Windows XP.
How to Reduce default 10 seconds timeout Scandisk in Windows XP
1. Go to Start menu –> Run –> Enter “CMD“ and press Enter.
2. Now give the following command at the command prompt.
CHKNTFS/T:4
Here, 4 is the amount of waiting time. After changing the time, Scan Disk starts counting from 4 seconds instead of the default 10 seconds.
Want to know more about this command, type the below command in the command prompt and press enter.
CHKNTFS/?
Read More articles on Microsoft Windows.
Enjoyed the article? Stay connected and never miss an update — follow us on social media for more tips, insights, and updates!


:X =(( ~X( :-t
I love this..great article.thanks 🙂
Keep up the great work, I read few content on this website and I believe that your blog is really interesting and holds sets of great information.
What i find difficult is to discover a blog that may capture me for a minute however your weblog is different. Bravo.