
If you are an iPhone user, you might know about this issue.
Whenever you add more than one account to your device which has contacts that are already in your contact list, then it is evident that there will be duplicate contacts.
Many users find it annoying to manually merge or delete duplicate contacts as it will take a lot of time.
Before iOS 16, this issue was resolved by using any third-party app or by doing it manually, but after the launch of iOS 16, it is now possible to merge or delete duplicate contacts without putting in any extra effort.
In this article, we will be discussing the ways with the help of which we can merge and delete duplicate contacts.
Steps For Merging And Deleting duplicate contacts
In iOS 16, some features are added to the in-built contact application that will help to remove duplicate contacts.
Step 1:- Click on the Phone App on your device and then click on the Contacts tab at the bottom.

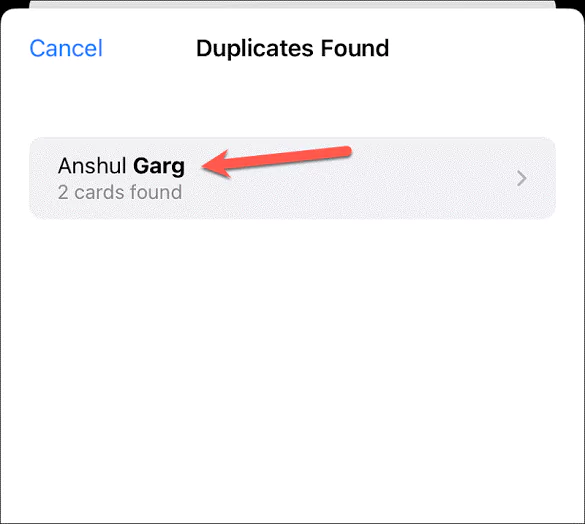
Step 2:- Find any duplicate in your device. If your device has duplicate contact, a Message Card will be shown at the top of the tab.

Step 3:- If a Message Card is shown at the top of the tab, click on it.
If the message card is not shown, but you know there are duplicate contacts in your phone, scroll down and find them.
Step 4:- Once you find the duplicate contacts, click Edit at the top right corner.

Step 5:- Then click on Merge All option to merge all the duplicate contacts or click on Delete to delete the duplicate contact.

Step 6:- If you do not want to merge the contacts, click on Ignore All.
For deleting or merging contacts with different names, follow the steps that are listed below:-
Sometimes your device may have some contacts with the same number but different names. In this scenario, merging or deleting contacts becomes more complex.
Step 1:- Locate and open the phone app on your device.
Step 2: Click on the first contact you want to merge.
Step 3:- Then click on Edit at the top right corner.
Step 4:- Scroll down and find the link contacts option.
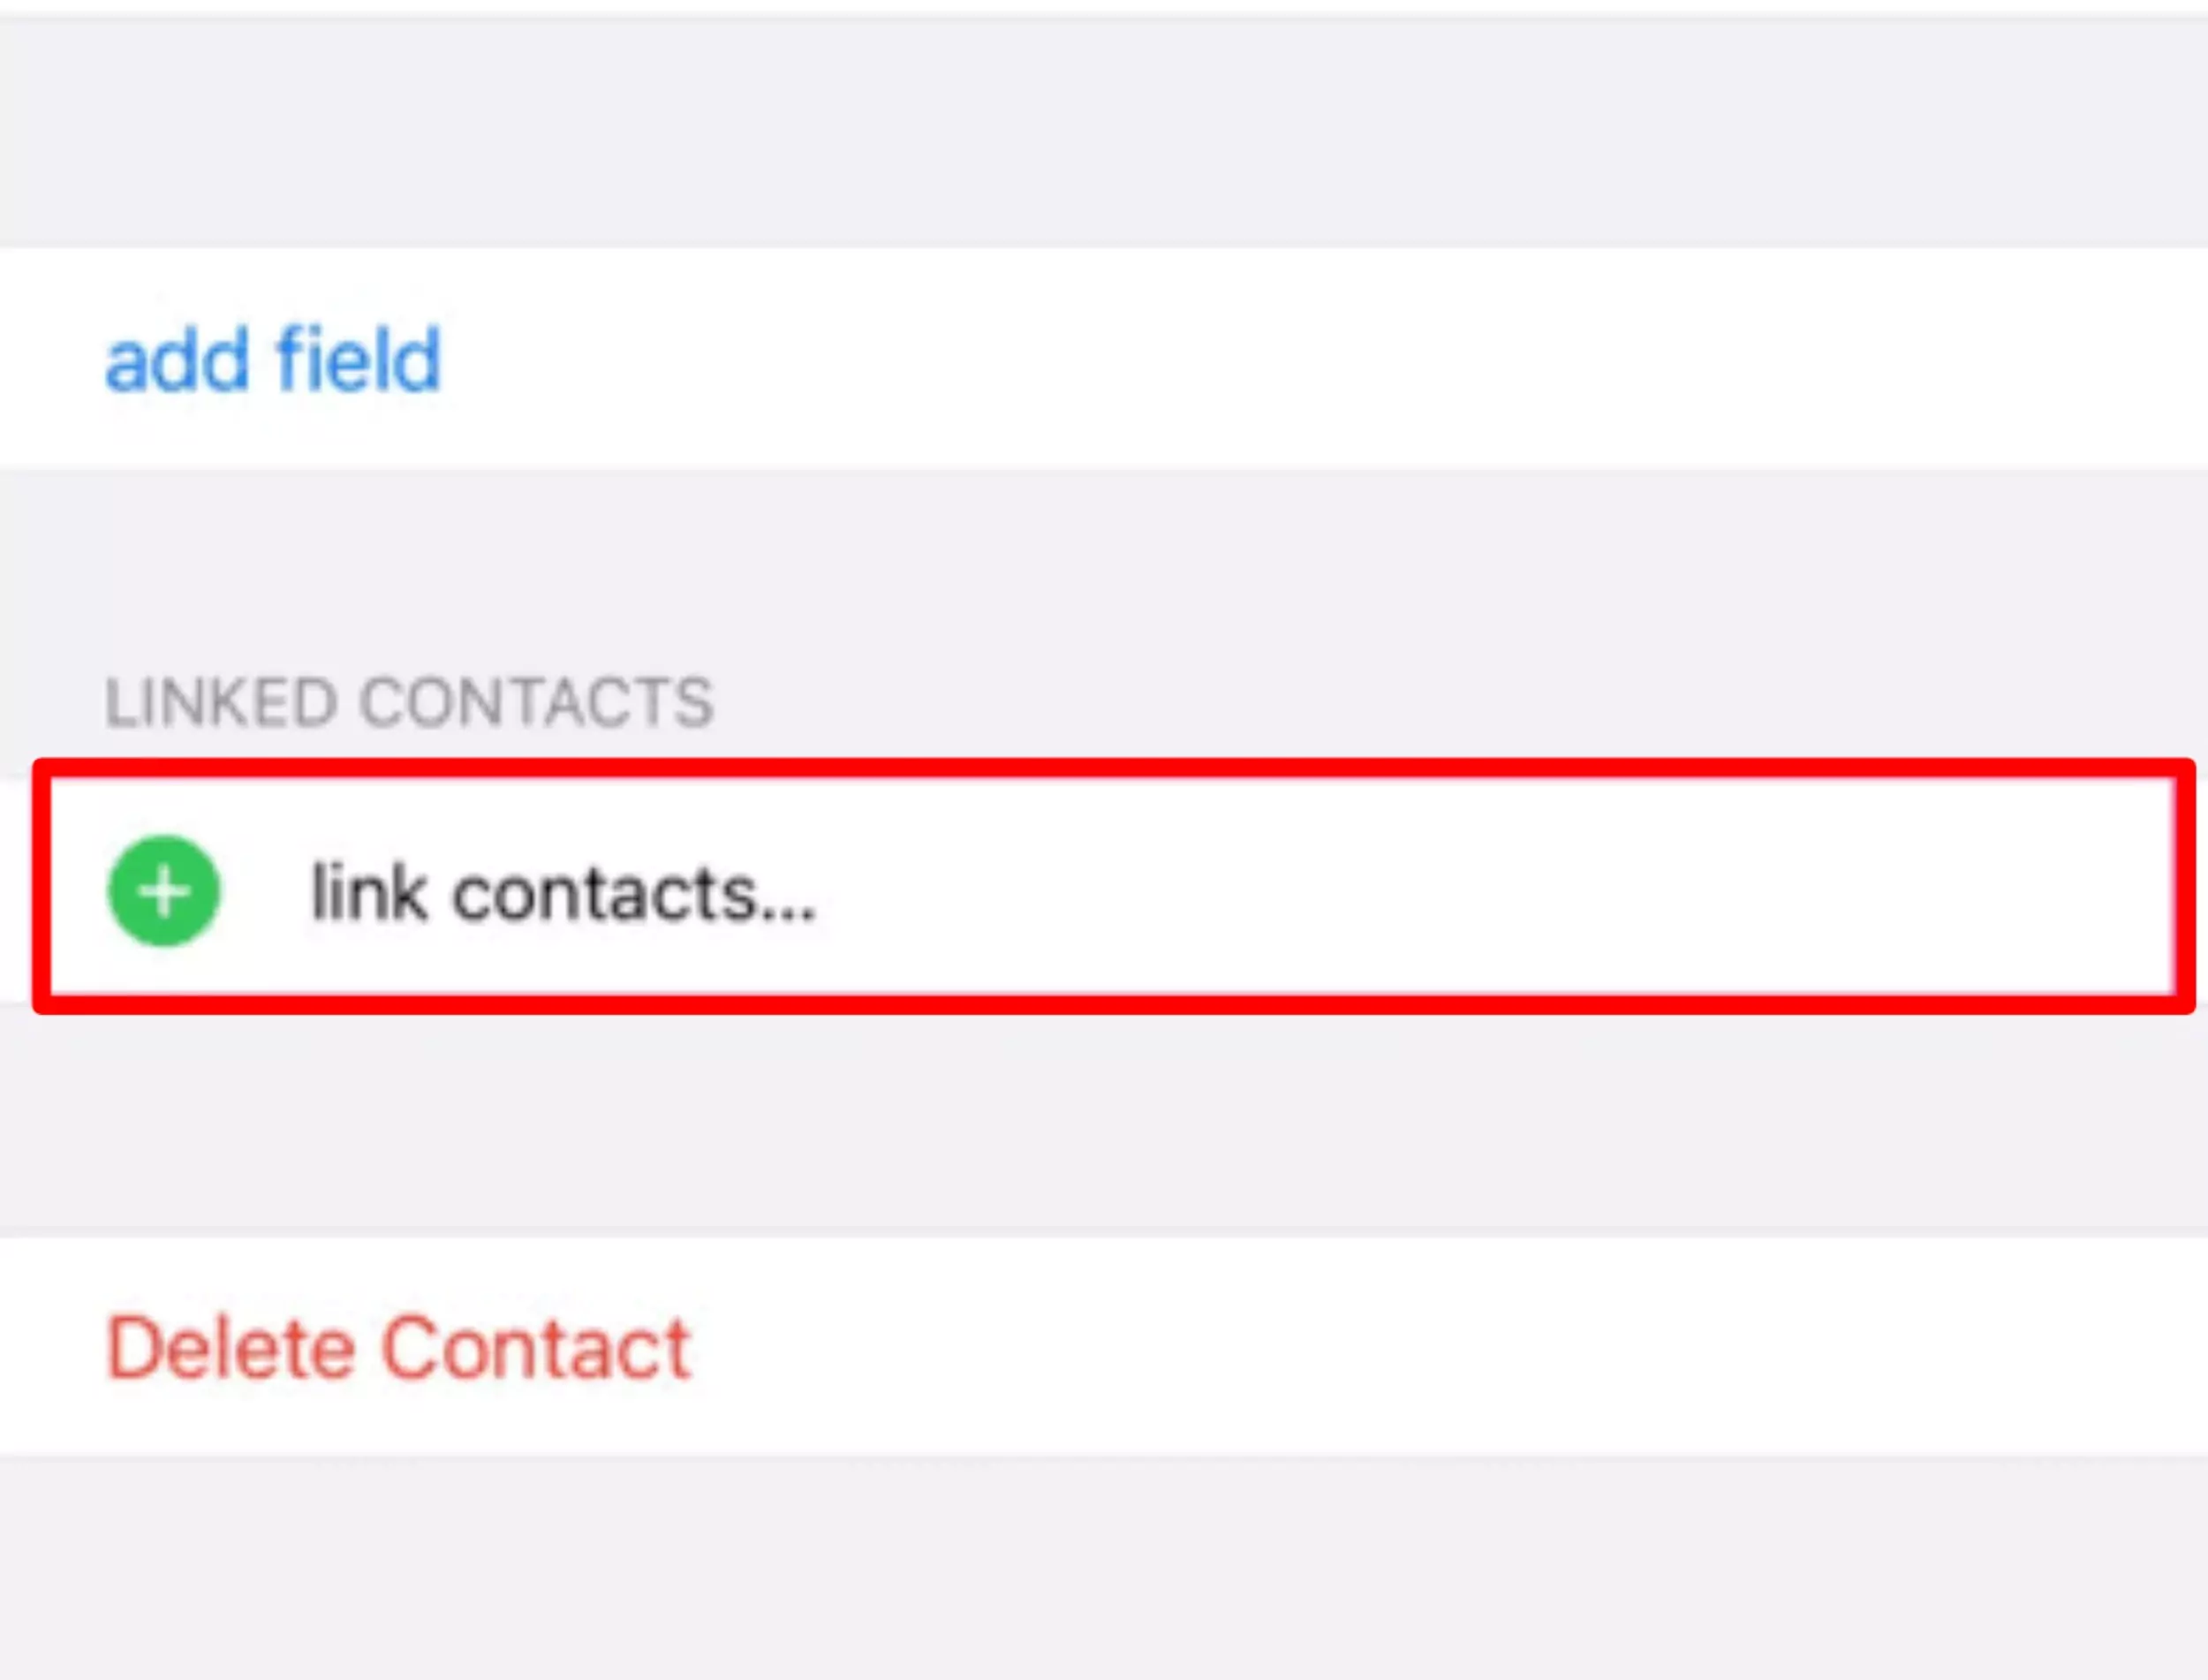
Step 5: Locate and select the second contact you want to merge with the first contact.
Step 6:- Click on the Link option available at the top right corner.

Step 7:- Then click on Done.
After completing this procedure, the contact will be named the same as the first contact selected.
If you want to change this, follow these steps.
Step 1:- Click on the phone app.
Step 2:- Click on the contact tab.
Step 3:- Locate the linked contact section.
Step 4:- Click on the linked contact you want to use as the name for this contact.
Step 5:- Tap on “Use This Name For Unified Card.”